
Mesh specs, pole spacing and the one mistake that shortens a fence’s life
Weldmesh is the fence you choose when you need a real barrier but still want to see through it. It goes up faster than timber panels, costs less than palisade, and suits everything from a building site to a smallholding boundary. But weldmesh fencing installation is unforgiving of shortcuts, and most failures come down to the poles rather than the mesh.
This guide covers the specifications that matter, how far apart the poles should go, how deep they should sit, and the single most common mistake we see on jobs across Durban.
What weldmesh fencing installation involves
A weldmesh fence is three components working together: the mesh itself, the poles carrying it, and the fixings tying the two together. Get any one wrong and the fence fails early.
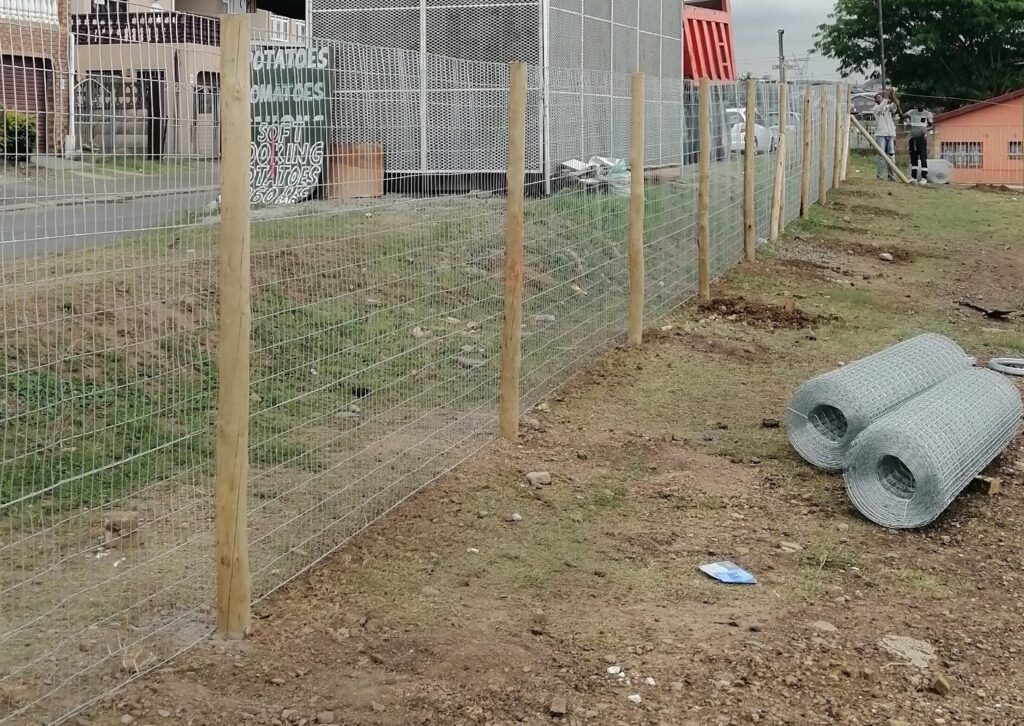
We stock rectangular weldmesh at 1.8m high with a 50 x 100mm aperture, in 30 metre rolls, and can cut down to lengths as short as 10 metres. That aperture is small enough to be a genuine barrier and open enough to keep sightlines, which is why it is the usual choice where visibility matters – full specifications are here.
Typical applications are construction sites, smallholdings and garden boundaries. It also works well for enclosing a specific area rather than a whole property, which is the practical approach we recommend for keeping monkeys out of a growing area.
Always specify fully galvanised on this coast
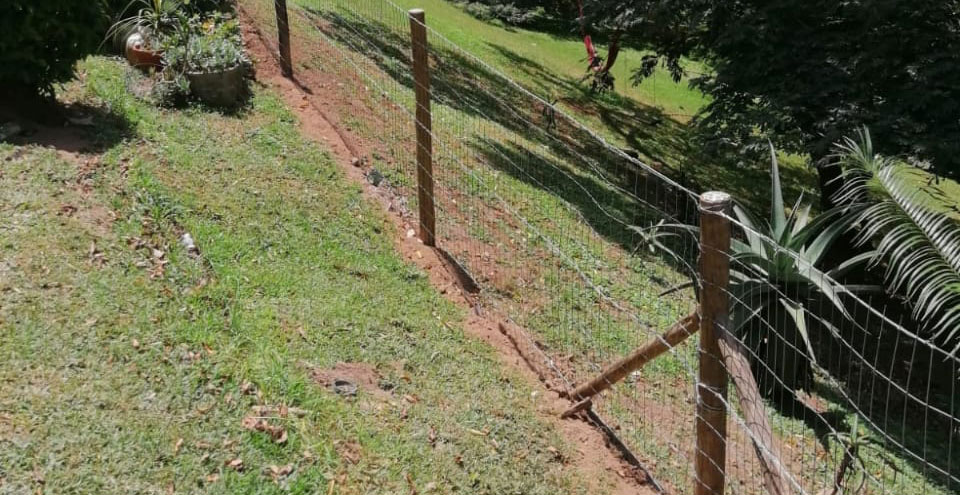
This is not a nice-to-have in KwaZulu-Natal. The corrosion factor along the Durban coastline is high, and ungalvanised or lightly coated mesh will show rust within a season or two. Fully galvanised weldmesh costs a little more at purchase and considerably less over ten years.
If a supplier cannot tell you whether their mesh is fully galvanised, treat that as an answer.
Pole spacing, depth and drainage
The mesh is only as good as what holds it up. Our recommended practice is specific, and each number exists for a reason:
- Poles no more than 4 metres apart. Wider spacing lets the mesh sag between poles, and sag is what animals push under and what makes a fence look tired within a year.
- Buried 600mm deep. That depth gives the pole enough resistance to stay vertical under wind load and the tension of the mesh.
- Use properly treated CCA poles rated for ground contact. Anything less will rot at the soil line long before the mesh gives up – our guide to H4 treated poles explains why that specification is the one that matters.
The mistake that ruins weldmesh fencing installation
Here is the one worth reading twice: do not concrete the bottom of the pole.
It feels like the sturdy thing to do, and it is exactly backwards. A pole sealed into a concrete cup sits in water every time it rains, because the moisture that runs down the pole has nowhere to drain. That standing water rots the pole from the base up, and you lose the fence years early.
What we recommend instead is stamping roughly 100mm of soil around the pole with concrete mix, leaving the base of the pole in contact with open soil so moisture can drain away naturally. You get the lateral stability without creating a reservoir.
If you take nothing else from this article, take that.
Fixing and tensioning the mesh
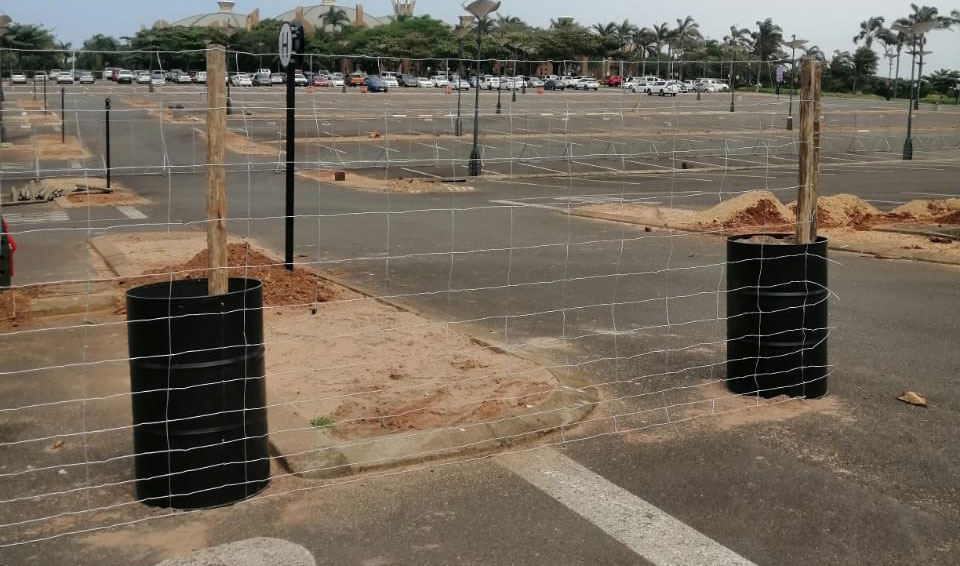
Weldmesh is secured to the poles with tie wire. The mesh should be pulled taut as you work along the run rather than fixed loose and tightened later, and it should be tied at regular intervals up the pole rather than only at the top and bottom. Loose mesh flexes, and flexing is what eventually breaks welds and works ties free.
Tie wire and other fixings and accessories are easy to under-order. Work out what you need before the day rather than stopping halfway through a run.
DIY or professional weldmesh fencing installation
Weldmesh is one of the more DIY-friendly fences, provided you have the tools to dig 600mm holes and a second pair of hands for tensioning. A straight run on level ground is well within reach of a competent DIYer.
Where it gets harder is sloped ground, long boundaries, rocky soil, or sites where the fence has to be compliant and secure from day one. For those, professional installation is usually the better value, if only because a fence installed once correctly costs less than a fence installed twice.
Where weldmesh fencing installation makes sense, and where it does not
Weldmesh is excellent at some jobs and poor at others, and it is worth being honest about which is which before you order.
It works well for construction site perimeters, smallholding and paddock boundaries, securing a yard or storage area, enclosing a specific zone such as a vegetable garden or plant nursery, and any boundary where you want a genuine barrier without losing sightlines. Being able to see through a fence is a security feature in itself – an intruder has nowhere to hide behind it.
It works badly for privacy. You can see through weldmesh, which is the entire point, so it is the wrong choice for screening a pool area, a patio or a boundary overlooked by neighbours. It is also rarely the right look for a decorative front boundary, where picket or post-and-rail suits better.
The common workaround where you need both security and privacy is weldmesh with shadecloth fixed behind it. You keep the rigid barrier and gain the screen, at a fraction of the cost of solid panels.
What to order
For a straightforward run, you need: the mesh in the length required, treated poles at no more than 4 metre intervals plus one for the end, tie wire, and concrete mix for setting. Measure the run before ordering, and add a little for corners and cuts.
Our fencing FAQs answer the questions that come up most, and if you would rather talk it through with the measurements in front of you, contact Durban Poles and we will work out quantities with you.
Planning a fencing project?
From picket fencing and garden edging to post and rail, we supply DIY materials and handle full installations across KwaZulu-Natal. All our timber is SABS and ISO 9001 approved.